This update upgrades the base iOS version to 13.0 but users with devices running older versions of iOS can continue using an older version of the app which I intend to leave available for download.
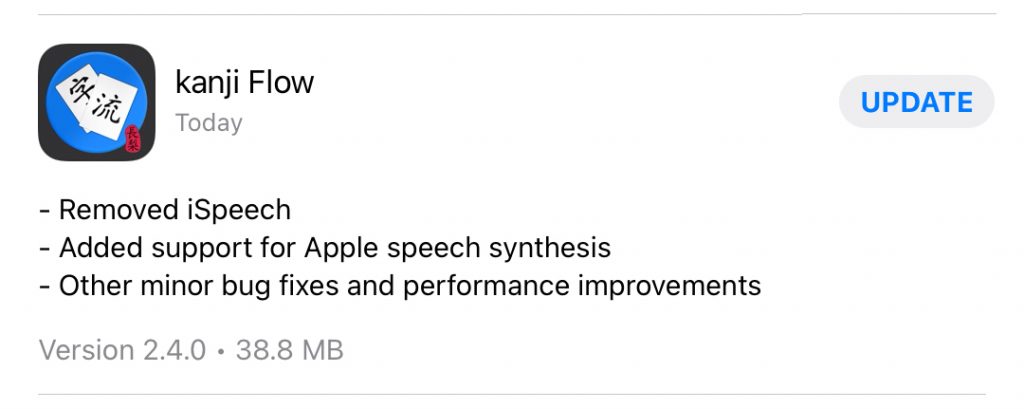
Removed iSpeech
The iSpeech library hasn’t been updated in quite a while so it’s not compatible with the latest versions of iOS and had to be removed.
Added support for Apple speech synthesis
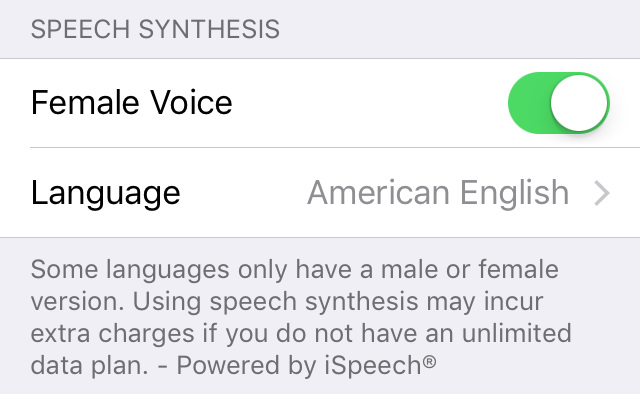
As a replacement, Apple’s own speech synthesis is utilized. It’s totally subjective, of course, but I think these voices sound about as good as the iSpeech voices. However, there may not be as much choice regarding accent and gender so you might get a male voice even if you have the female option selected depending on which accent you’ve requested.
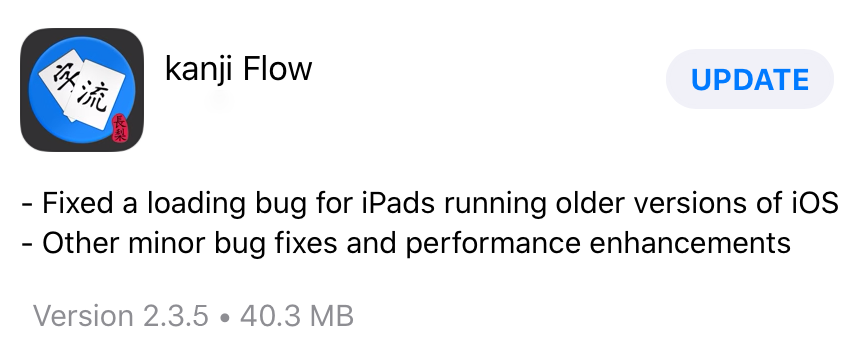
Fixed a loading bug for iPads running older version of iOS
A user pointed out that the update I made to the activity spinner and popover layout in the previous version didn’t work for iPads on iOS versions < 13.0. The Lessons popover wouldn’t automatically appear at the front of the z-stack (the 3D, front-to-back level of each layer) so users couldn’t select a lesson since their touches couldn’t get through the activity spinner layer.
I reverted to the older implementation to fix this issue. However, this isn’t optimal for users running iOS version >= 13.0 so I’m going to be releasing one more version with the current UI and the updated z-stack layout that no longer supports older iOS versions.
Of course, I’ll leave the current latest version available for users that have already downloaded the app on older versions.
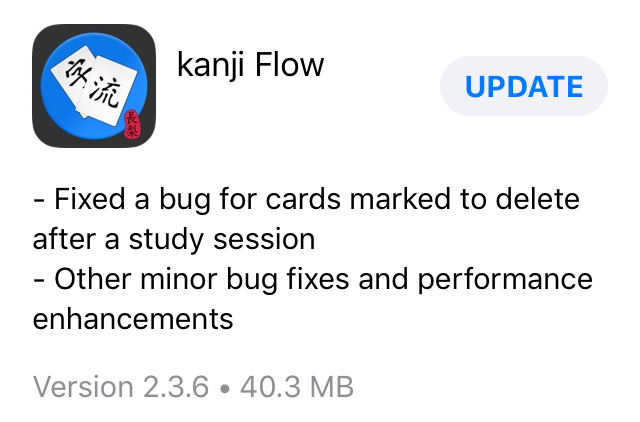
Fixed a bug for cards marked to delete after a study session
This also actually only affected older versions of iOS or older devices. This is one of those interesting things just happens to occur occasionally due to multi-threading and based on how quickly your OS/device is capable of loading the delete cards screen view.
If it can load it quickly enough, the array will be properly filled and displayed appropriately. However, if your device is a bit too slow, the array won’t be filled by the time the view is actually displayed so what ends up in the array and what is initially displayed won’t be synced up properly.
Simply moving the code to fill the array to when the view is ready to be displayed instead of doing it when the view is loading fixed the issue.
Sorry if these bugs caused any problems for anyone and thanks again to users that reported the issues.
Please keep telling me about any problems you notice and I’ll keep getting them fixed.
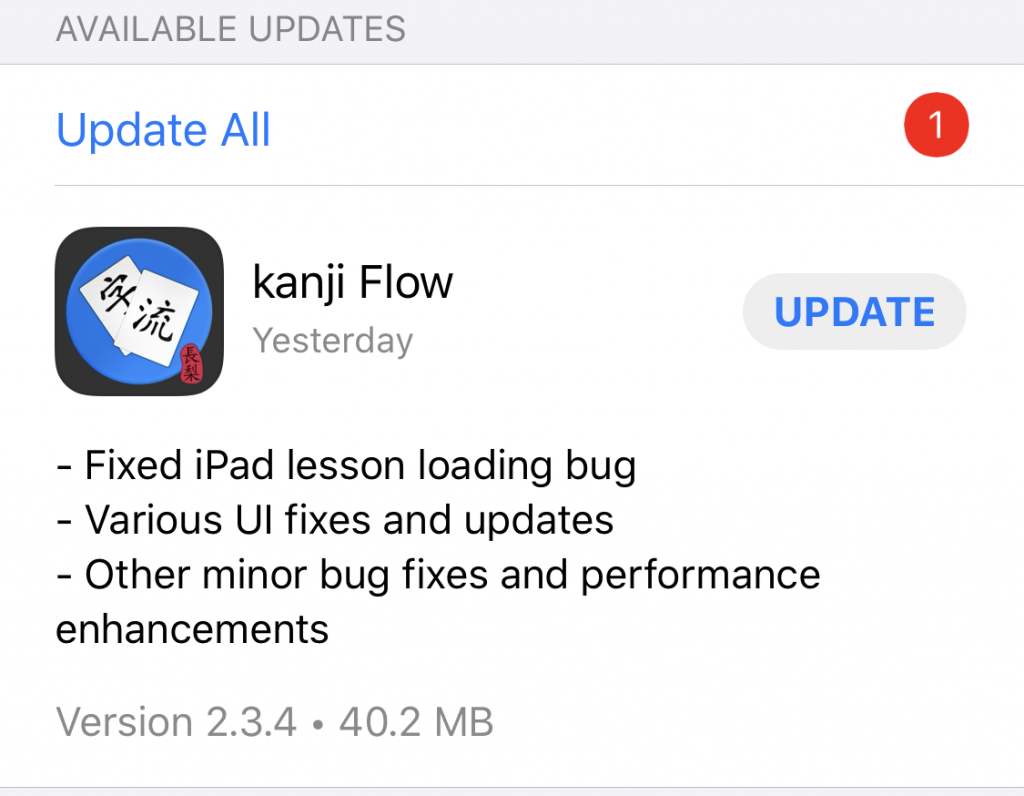
I’m sorry to say that there has been a lesson load bug on iPad that may have prevented iPad from loading lessons properly since the last update. I really wanted to push out a quick bug fix release but I was halfway through updating the UI (as outlined in the previous post) and I just wasn’t able to do it until that was complete. kanji Flow on iPad should work as expected again.
Various UI fixes and updates
Updated for iOS 13 to support all screen sizes but only works on iPad in full screen mode. Multi-tasking support (slide over and split view) will be in the next update.
There’s also an unlisted change regarding the dictionary integration also described in the previous post. Basically, if you already have imiwa? installed the app will continue to function as before. If you don’t have imiwa? installed, the dictionary buttons will turn blue and will open the default Apple Dictionary instead.
It’s been quite a long while since the last release, a little over 2 years. I’ve just been terribly busy with a new job, a new wife, and a new son. I had been slowly working on a new update for that whole time but a few things kept me from getting to release. Mostly, I was trying to get the UI updated to work on all screen sizes and devices.
JiSeki app icon
I originally developed the base code for this app more than 10 years ago when the iOS SDK was first released back in 2008 (the first version of this app was called JiSeki released in April 2010 as my final project for college). At that time, there was only one iPhone with one screen size so, of course, I hard coded the UI to fit that screen. Then a phone with a four-inch screen was released so I added a bit of code to detect that and stretch things out a bit if necessary. Then the iPad was released so I added a bit more code to fit that resolution in portrait and landscape.
I realized when I was adding the four-inch code that it would probably be better to just refactor the layout code to just fit whatever the device resolution was. However, at the time it was a lot easier to just leave it alone and add a few exceptions where necessary.
I think it was around 2016 at WWDC that Apple began strongly suggesting that developers should start writing or refactoring code to dynamically layout on any resolution (adaptive layouts). This was because Apple knew they were going to start releasing a wider variety of devices with a lot of different resolutions with and without home buttons in addition to iPad’s multitasking features like split view and slide over.
However, I did not take the hint at that time. It wasn’t until iPhone X was released that it was obvious I would have to rewrite my UI. So, I started slowly working on storyboards using layout constraints in iOS 12. I was about halfway done during the last WWDC when Apple announced Swift UI. That seemed a lot better and easier to use than layout constraints so I decided to scrap what I had been working on and go with a new Swift UI instead.
Unfortunately, it turns out that while Swift UI is indeed great, it’s not quite feature complete and it would be pretty difficult to replace my full UI with just Swift UI. I’m hoping they’re going to add a lot of new features for iOS 14 which we should find out about at this year’s WWDC.
But, what to do about my current UI? Apple released some guidance this year which indicated apps that didn’t support every screen size would be…actually I’m not sure. Certainly they wouldn’t accept new apps or updates like that but I think they may have also been planning to boot current apps out of the store as well if they weren’t compatible. So that meant I had to get the app’s UI up-to-date before the deadline (which was fortunately extended to the end of June 2020, perhaps due to the pandemic).
I was kind of worried about how long it would take to get all the storyboards and constraints done but it turns out I really didn’t have to do that at all. I was just able to get rid of all (well, most) of my hard coded layouts and let iOS 13 handle most of it with my current xib files via a few auto layout tweaks.
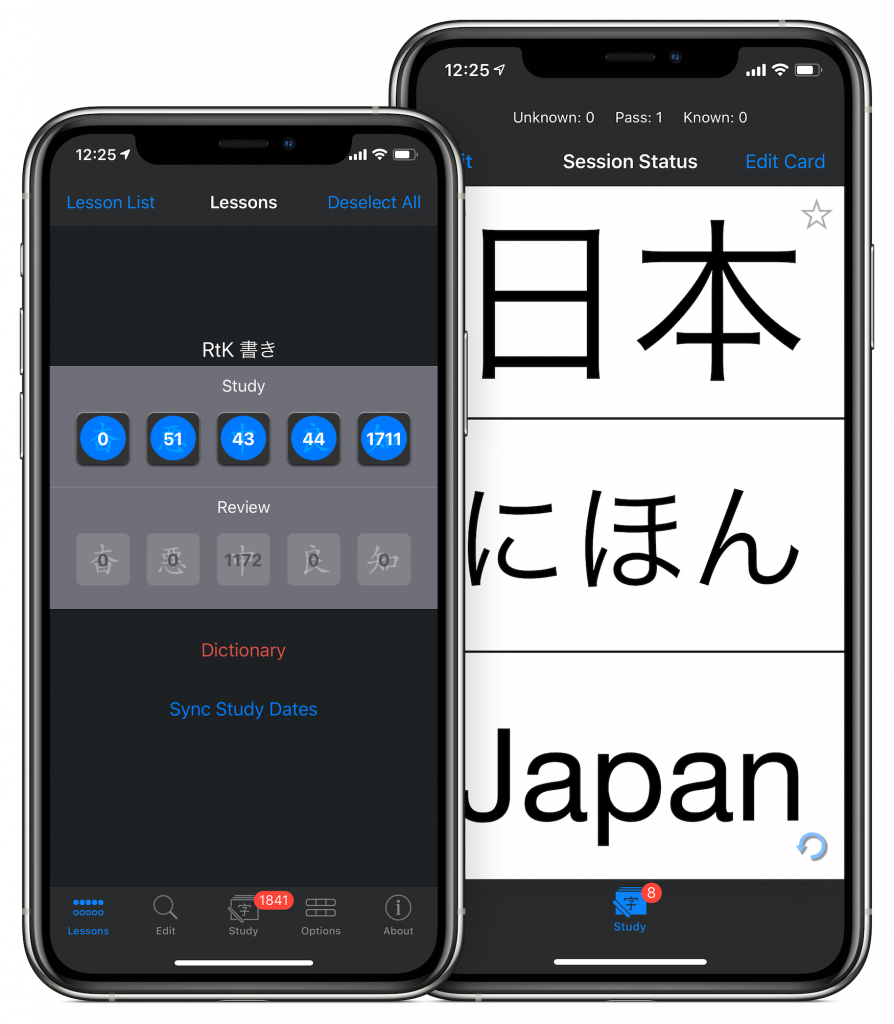
It’s not perfect (iPad only works in full screen) and I am still going to have to do a lot of work to get a fully modern, dynamic UI that supports multi-tasking on iPad OS and dark mode and dynamic fonts and on and on. But it fills the screen and finally looks good on notched iPhones and iPad Pros:
kanji Flow on iPhone 11 Pro & Pro Maxkanji Flow on iPad Pro 12.9″
Another interesting or strange thing that prevented me from getting the update out as quickly as I wanted was some trouble with the app review process this time.
For some reason, Apple told me that I had to remove the third party app from my app. As a developer, this request didn’t make any sense to me. As far as I know, there is no way to put an app inside another. Of course, kanji Flow is integrated with imiwa? so that you can tap a button to do a dictionary search and things like that. But, imiwa? isn’t in my app. It’s just a link. When you tap it, you leave my app and imiwa? opens. So, I tried to get some clarification but they just said the same thing:
They included screenshots of my imiwa? buttons as well as the download link.
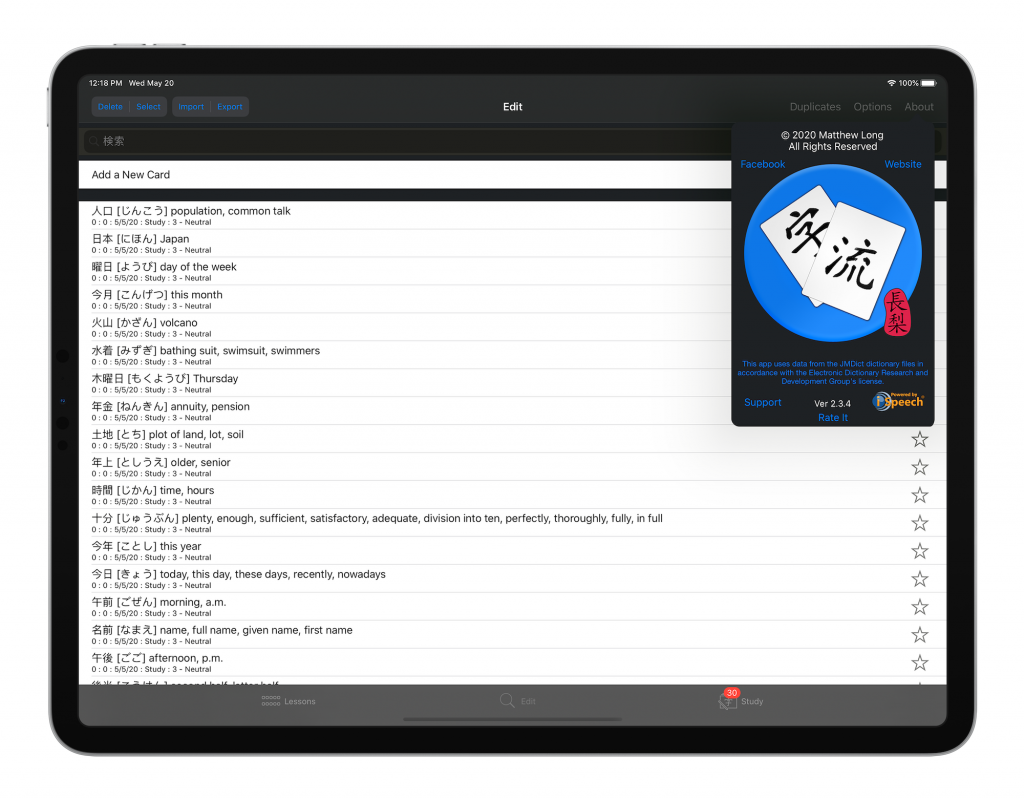
So, in the end I had to change the buttons to a generic dictionary label and, by default, those buttons open the Apple Dictionary instead of the much better imiwa? dictionary. If the dictionary buttons are blue, you know you’ll be getting the built-in dictionary which really isn’t so useful (and is actually kind of buggy and really slow to open in iOS 13; hopefully they’ll fix that in iOS 14). If you already have imiwa? installed on your device then the buttons turn red and you’ll continue to get the same functionality as before.
I guess for new users I just hope they’ll read the App Store text or visit this site to realize they can get a lot of convenient features by installing imiwa? and using that for dictionary lookups and card importing.
For the next update, I probably will be waiting until WWDC this June to see how far along Swift UI has come and hopefully I’ll be able to get the app’s UI fully modernized to work with iPad’s multitasking. I personally can’t wait until I can have the app open in side view on top of my sketching app so that I can do my study sessions with writing practice on a single device. Until then…
This, as well as part 1 and options info, is available as a PDF and can also be downloaded along with the 300 Kanji in 30 Days guide on Apple Books (free):
In this final post in the Options & Settings series, I’ll be going over the remaining settings available to you in the Settings app. Once again, the emoji labels will tell you if the setting affects the 🔍Edit view or 📝Study sessions, if applicable.
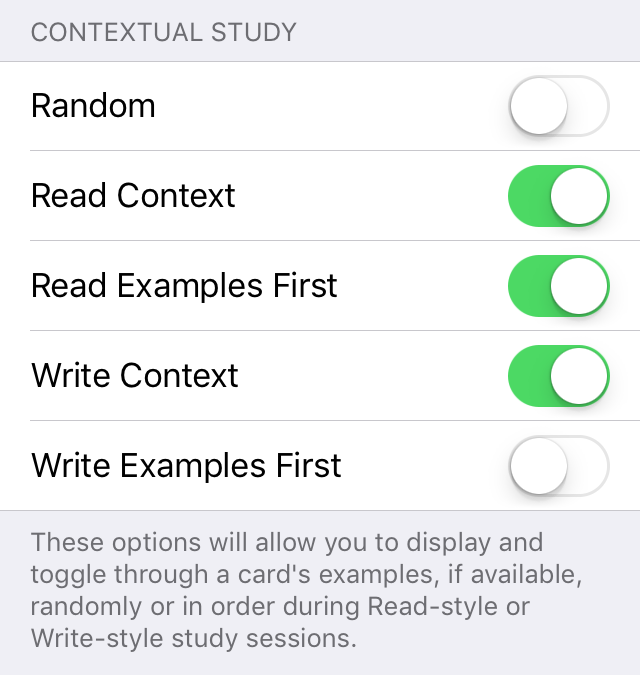
📝Contextual Study
What: Contextual means examples. So this set of options controls how you see examples during study sessions. Random makes your examples appear in a random order when you toggle through them. You can use Read & Write Context to turn examples on or off for read and write style lessons and Read/Write Examples First determines if your examples or the card’s normal entry appear first. Why: This mostly comes down to personal preference about whether or not you want to see examples and, if so, if you want them to appear in order. The important choice might be the First switches in case you only want to see examples for cards that you need extra help with (turn them off) or if you’re systematically trying to study only using examples (turn them on).
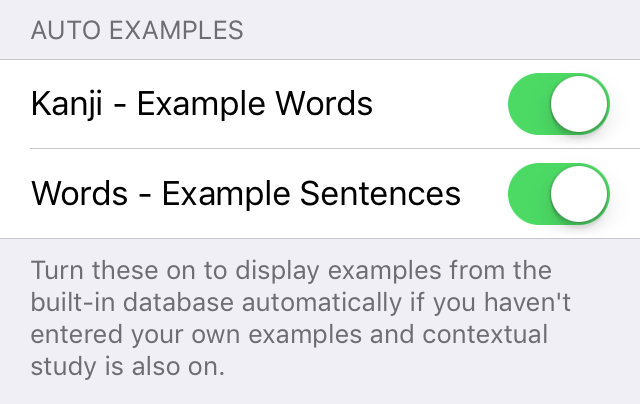
📝Auto Examples
What: If contextual study is on but you haven’t entered or selected any examples for a card, this will have the app display examples from the built-in examples database. If you have entered or selected some examples for a card, only your examples will be used. Why: You might find the built-in examples words or sentences to be not very good or not well-suited to your purposes so you can choose to turn them off individually if you so desire.
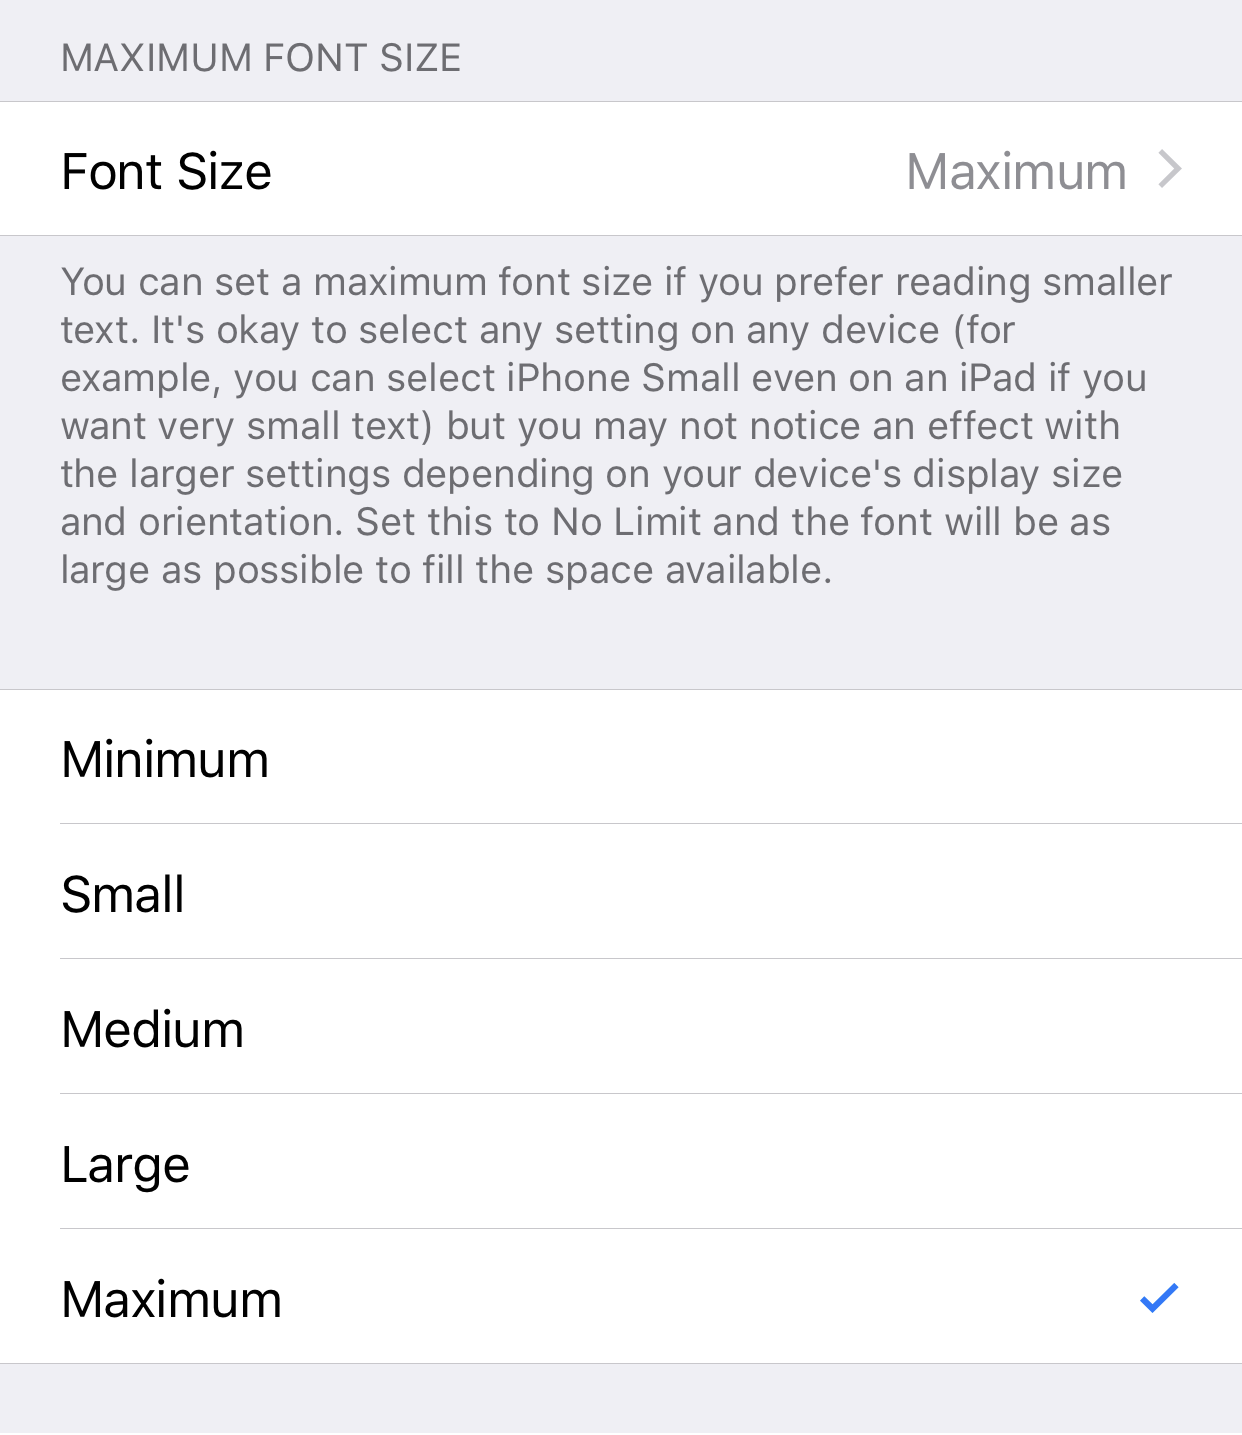
📝Maximum Font Size
What: The app will usually try to fill all the available space with a font that is as large as possible. You can use Font Size to set the font to be smaller if you prefer. Minimum is about a 16 point font and Small, Medium, and Large will give you 25%, 50%, and 75% of the normal maximum size, respectively. Why: I would generally recommend leaving this set to Maximum but you can choose a smaller size if you prefer.
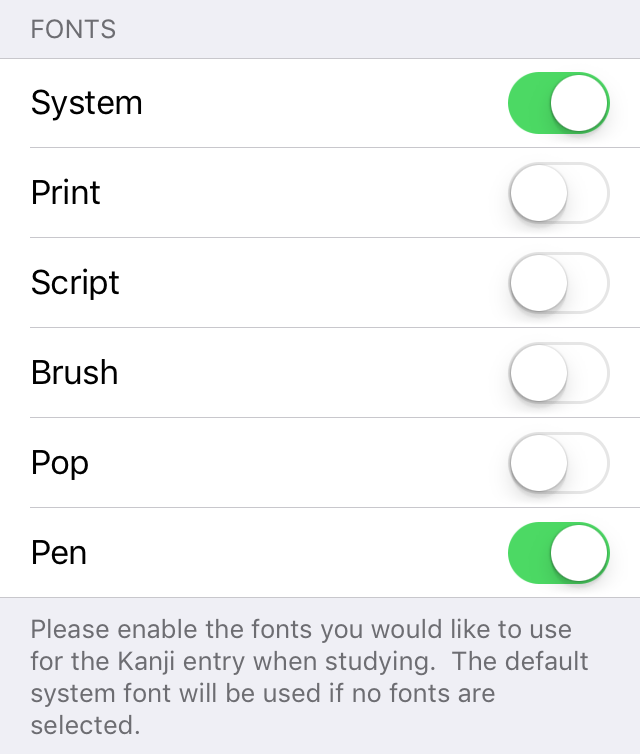
📝Fonts
What: There are a few different fonts you can use for displaying your card’s kanji entry during study sessions. The first three, System, Print, and Script are fairly representative of the classic styles of fonts normally used on computer systems and in print (sans, serif, and decorative). Brush is a calligraphy style font that can be quite difficult to read. Pop is a novelty font and looks similar to what is sometimes used in manga. Pen is a great font to copy if you’re trying to improve your handwriting. The system font will be used by default if none are selected and you can see the system font at any time by double tapping the kanji section of the card. Why: You should probably just use whatever is most appealing to you. My personal preference is Pen and Brush can be good if you’re looking for a bit of an extra challenge. Turning on all of them will give you the opportunity to toggle through them at your leisure and might be good for seeing how some kanji have slightly different styles when written versus being displayed on a screen or in print.
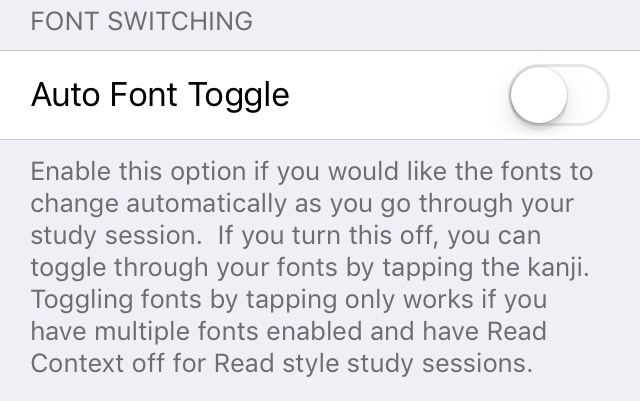
📝Font Switching
What: Auto Font Toggle will cause your cards to automatically switch through the fonts that you selected in the previous setting. Why: I originally introduced this when I first added extra fonts to the app to show off that fact. However, it can actually be quite annoying if the fonts are changing when you don’t want them to so I defaulted this to off and you can use this option to turn it back on.
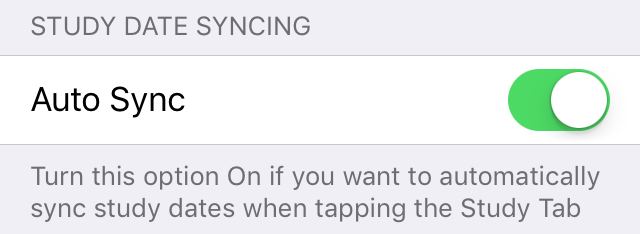
📝Study Date Syncing
What: Auto Sync will cause your cards’ study due dates to be automatically adjusted when you tap the study tab after missing out on studying for a few days. Sync basically just sets your oldest due date to today and then resets your other cards based on how many days they were due after that oldest date. Why: It might be more convenient to turn this on if you often find yourself skipping study days. If you turn this off, you can still sync the due dates manually by using the button on the lessons tab.
📝Speech Synthesis
What: These options allow you to choose what kind of voice and accent will be used when you choose the Speak option from the long press menu during study sessions. Why: This all just comes down to personal preference depending on your native language and whether you prefer a male or female voice.
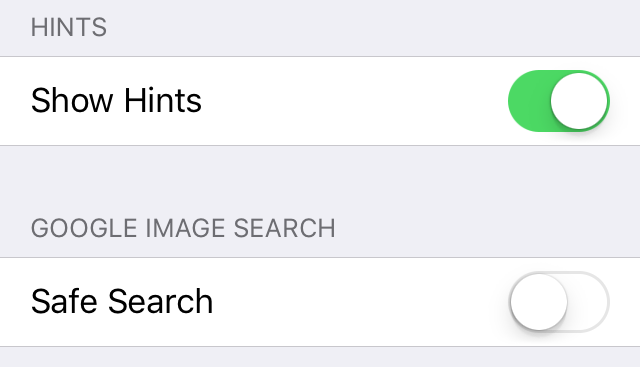
🔍📝 Hints
What: Show Hints will allow the app to show some alerts that might introduce new features to you from time to time. Why: I make very limited use of this so I hope it never becomes too annoying. If you never want to see any unnecessary pop-up alerts of any kind then you can turn this off to prevent them.
📝 Google Image Search
What: This tells the app whether or not to include the safe search flag when doing Google image searches from the long press menu during study sessions. It’s important to note that even if you turn this off, your own Google account settings may re-enable safe search anyway if you have it turned on there. Why: You can turn Safe Search on to help make sure you don’t see any NSFW images when doing an image search. However, knowing that a word might normally be associated with NSFW ideas could be useful knowledge when it comes to using Japanese in real situations so choose wisely.
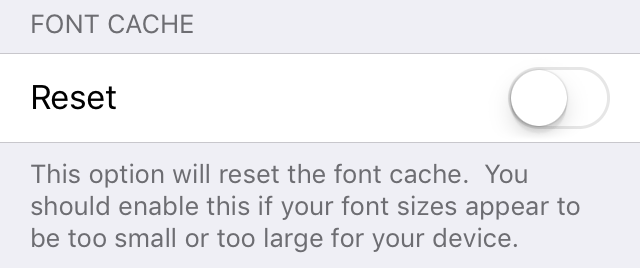
📝Font Cache
What: Reset will delete the font cache which tells the app how big to make fonts appear to fill the available space on your device. Why: You should turn this on if you ever notice that fonts appear to be too small or too large so the app can try to recalculate the appropriate font sizes.
That’s it for the settings. Please be sure to let me know if anything wasn’t clear or if something doesn’t seem to work the way you expected or as described.
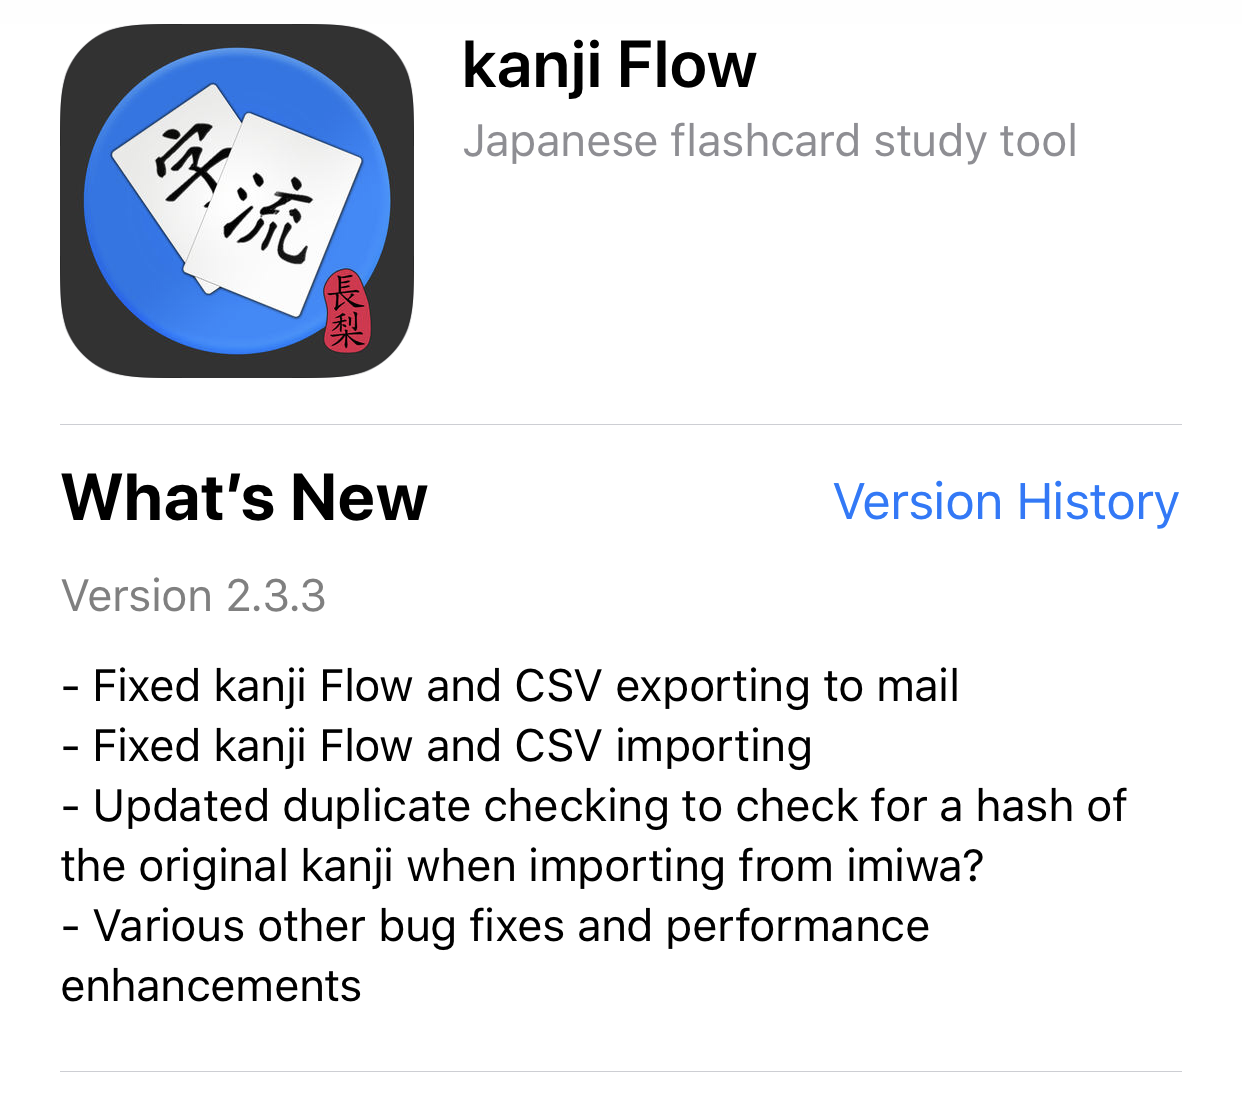
There were some disparities between the way kanji Flow exported text to an e-mail and how it would read the data when trying to import that text but it should work as expected now.
Updated duplicate checking to check for a hash of the original kanji when importing from imiwa?
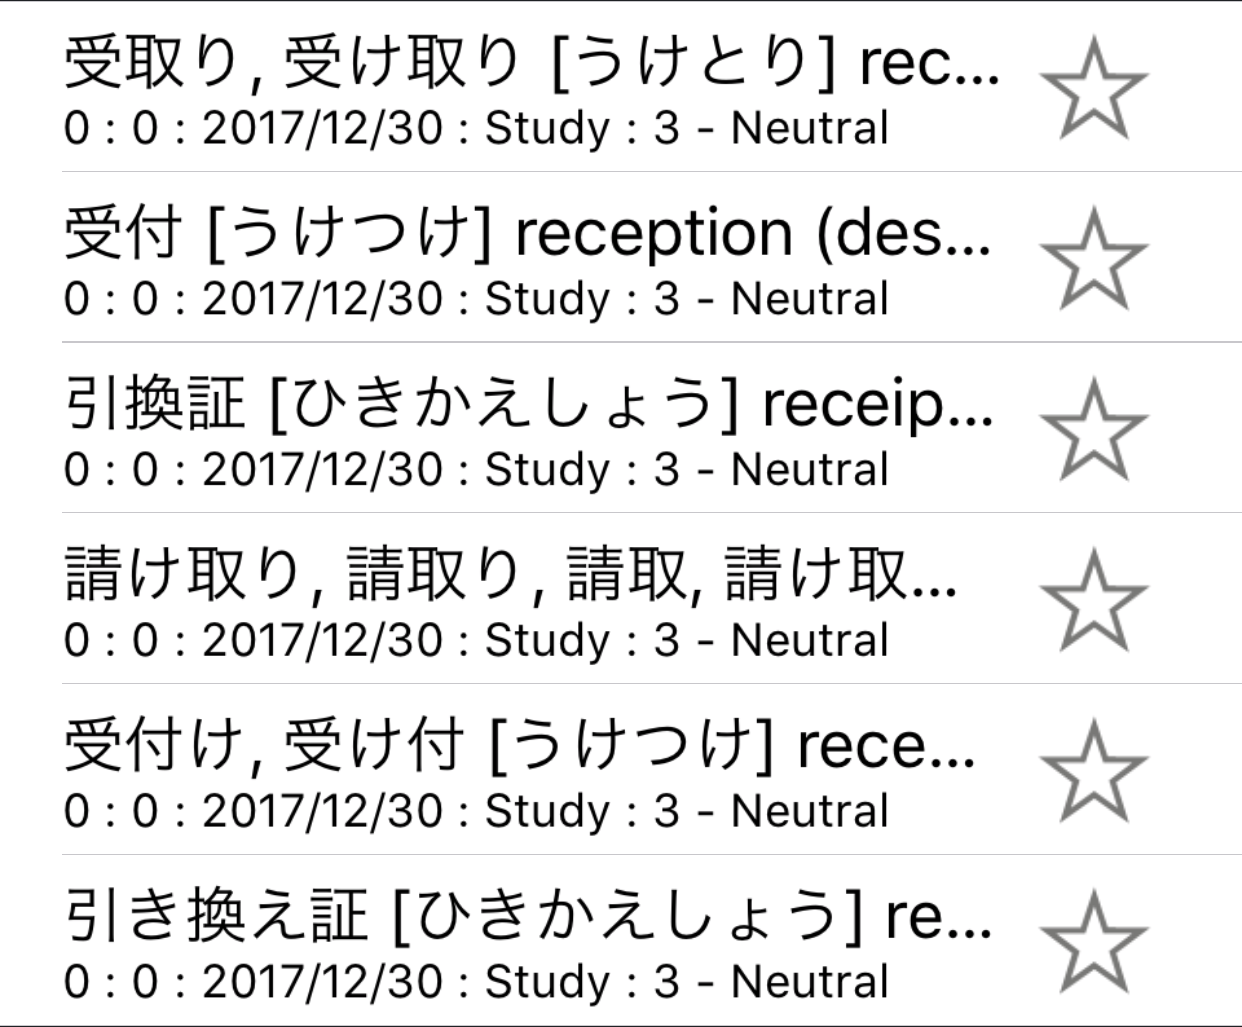
Duplicate checking looks at each card’s kanji entry to test for duplicate cards. That generally works, but if you edited a card’s kanji entry it could be imported again by accident. This could be especially problematic for verbs or verb-based words that might have multiple kanji entries:
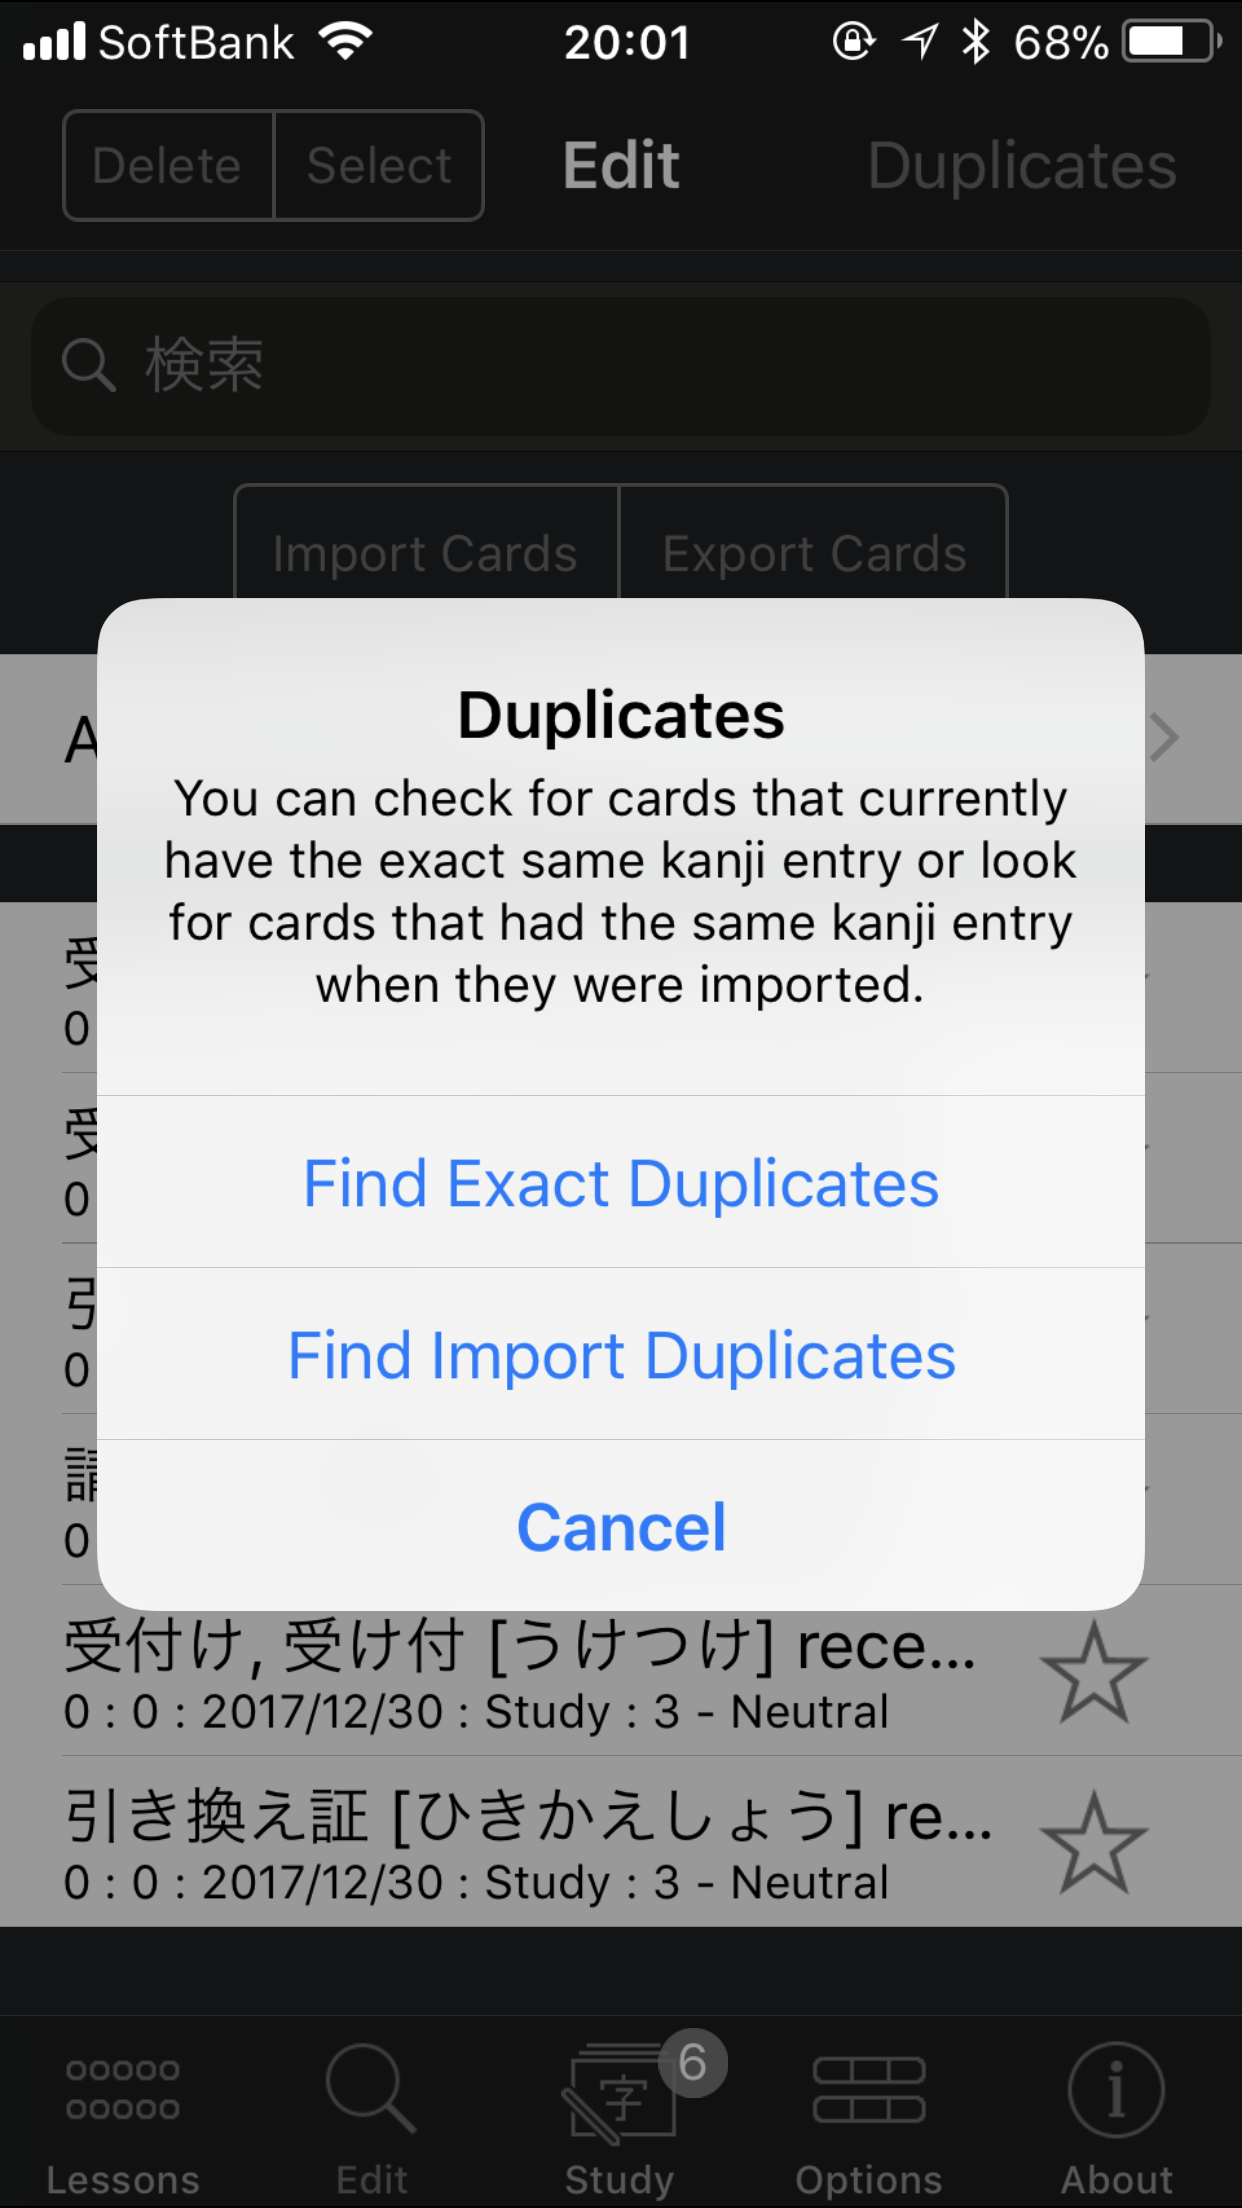
Going forward, when you import a card from imiwa? kanji Flow will store a hash of the card’s kanji entry. Even if you edit the kanji, the hash won’t change. So, if you try to import the same card again later, the app will check the hash and let you know that it’s a duplicate. This check will occur automatically when doing imiwa? imports. You can choose to do the old check for exact kanji duplicates or check the import hash via an alert that appears when you tap the Duplicates button.
Please keep in mind that this will only work moving forward for cards that you import after installing this version of the app.
This, as well as part 2 and options info, is available as a PDF and can also be downloaded along with the 300 Kanji in 30 Days guide on Apple Books (free):
In this post I’ll cover the first half of kanji Flow’s settings accessible via Apple’s Settings app. These settings affect the entire app (as opposed to individual lessons like the in-app Options) and, for options also available to be overridden in-app, set the default for new lessons. I’ll use emoji labels to let you know if the setting affects the 🔍Edit view or 📝Study sessions, if applicable.
The first three iOS settings are totally up to you; kanji Flow doesn’t require them.
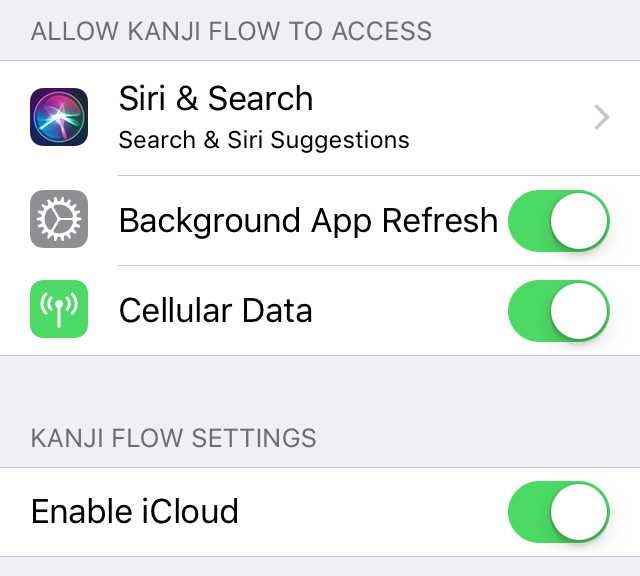
Kanji Flow Settings
What: Enable iCloud will sync your lessons into the cloud, otherwise they’ll only be available on the device you’re currently using. Why: You should leave this off unless you have multiple iOS devices and need to access your lessons on more than one of them.
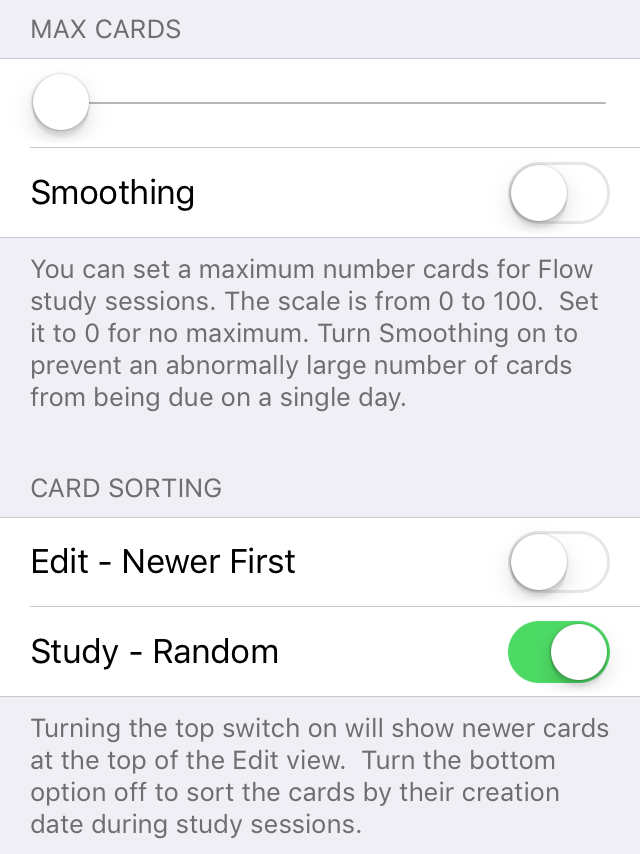
📝Max Cards
What: The slider ranges from 0-100 in 5 card steps and sets an overall limit for the number of cards you’ll see in Study sessions. Smoothing tries to even out the number of cards that are due to be studied over the next few days. Why: Set a limit for the number of cards if your study time each day is limited. if you don’t set a limit, turning on Smoothing here will automatically smooth out the number of cards due for study each day. You can leave this off and still smooth your cards manually from the Study session pop-up menu as well.
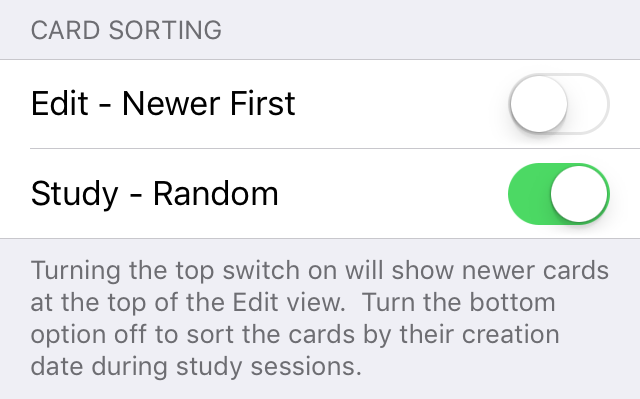
🔍📝Card Sorting
What: Edit – New First will show your newest cards at the top of the list; by default newer cards populate farther down the list. Study – Random is on by default but you can have cards show up in order during study sessions if you prefer by turning this off. Why: Once your number of cards starts to get very long it might be better to have your new cards appearing at the top of the list. It’s probably better to study your cards in a random order but you may prefer to always see them in order if you’re doing Heisig-style study where each kanji builds upon what you’ve studied previously.
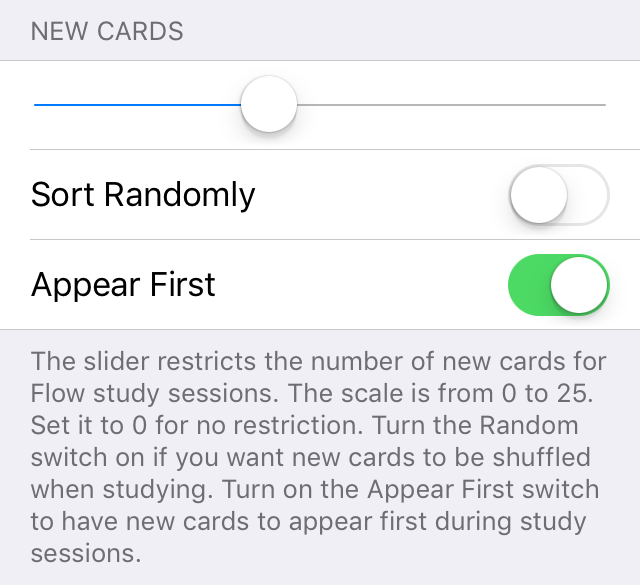
📝New Cards
What: You can turn on Sort Randomly if you want your new cards to be randomized when studying. You can turn Appear First off if you want to see them last during your study sessions. Why: I usually study from a list and like to edit my new cards in order the first time I study them. If you usually do your editing on the Edit view, random might be better for you. If you aren’t sure if you have enough time to learn a new set of cards every day then having them at the end of your study session will help you get to the cards you need to review more quickly.
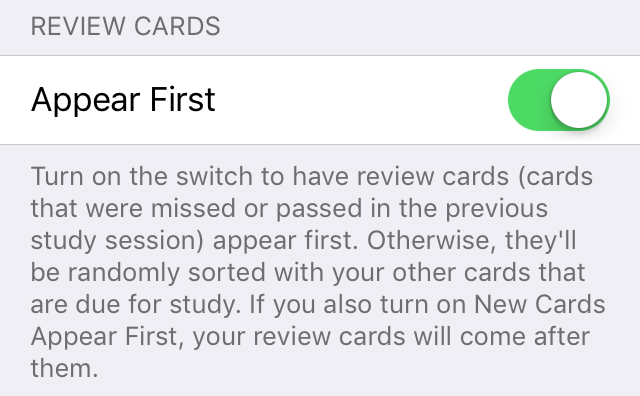
📝Review Cards
What: The cards you missed or passed yesterday will Appear First by default but you can turn this off to have them randomized with your other cards. Why: I think it’s most important to make sure you review any cards you previously missed but if study time isn’t a problem for you then mixing them all together is probably okay.
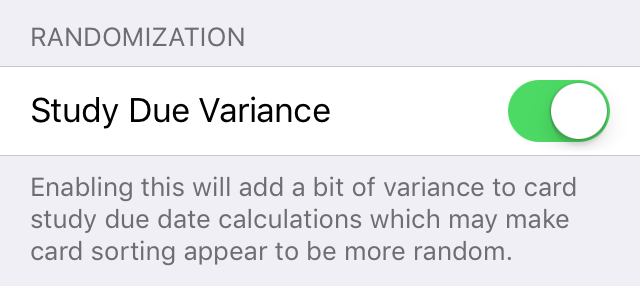
📝Randomization
What: Study Due Variance will randomly add or subtract a day from study due dates. Why: This will help to prevent cards that were created at the same time (and likely similar to each other) from always being due for study at the same time.